


Creator's Warehouse art supplies package


Fast Facts
Lessons learned
-
How to create dielines
-
How to design packages using dielines
-
How to assemble printed dielines
-
Practice in brand creation
-
Practice following brand guidelines
Project Results
This project helped me learn to work with dielines to design, print, and construct packaging. The skills practiced here can be transferred to future branded design projects.
Background
This project involved following a set of brand guidelines to design and construct a package and booklet.
Software


Case Study
Overview
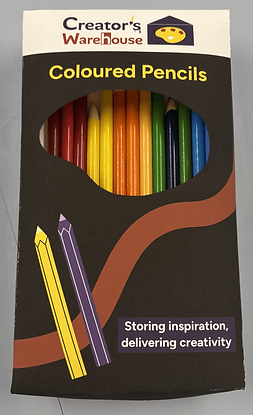
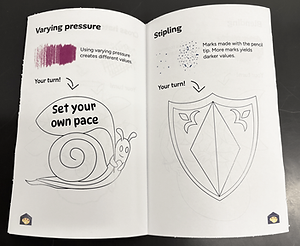
This project served as my introduction to package design. I created a fictional brand (Creator’s Warehouse), designed, and produced a pencil crayon package and accompanying colouring booklet following that brand’s guidelines.
The Challenge
This project’s challenge was learning how to create and use dielines, a set of lines that mark out where a printed package needs to be folded and/or cut to be assembled. I had never worked with dielines before this project, so I was challenged with learning about them and applying my learning to this project’s deliverables.
Design Process
1. Inspiration and ideation. To start this project I defined my package’s audience and purpose. I decided to create an art supplies brand that appealed to teens and young adults. The brand’s products would support those interested in art, who were ready to for something a step above beginner/kiddie art supplies, but weren’t quite ready for super high-quality, professional tools.
To establish the brand, I started with a simple, text-based logo. I created a couple versions, and shared them with my peers for feedback:
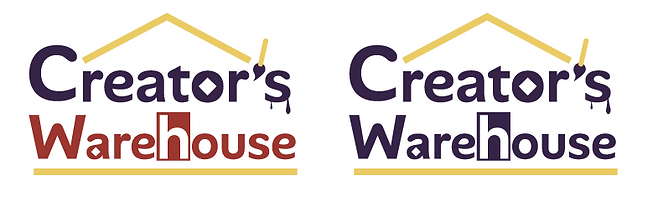
One piece of feedback I received was that creating an icon could make the logo better, instead of it being text based. I came up with a new logo and accompanying icon. From there I created a small brand identity guide to help guide my ideas for the packaging.


To start gaining ideas on the pencil crayon box design, I looked at lots of sample images and put together a moodboard of ideas from other art supplies brands and packaging. I started sketching out design ideas:

I started thinking about how I wanted my box to function, and decided that it would have lid on top that could be removed to reveal the pencils within. It would also have an inner tray to create 2 layers of pencils, one on the tray and one underneath.
I drew some refined sketches and showed them to my peers for feedback:
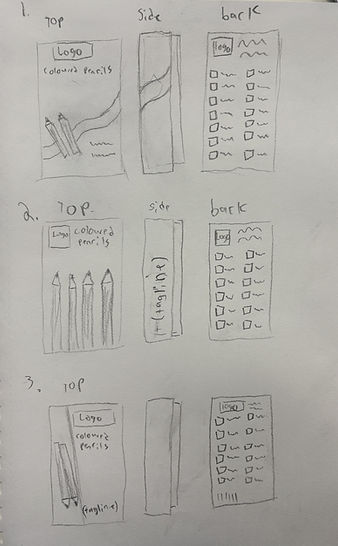
Version 1 was the most popular so that’s what I went forward with, creating a cleaned-up sketch:
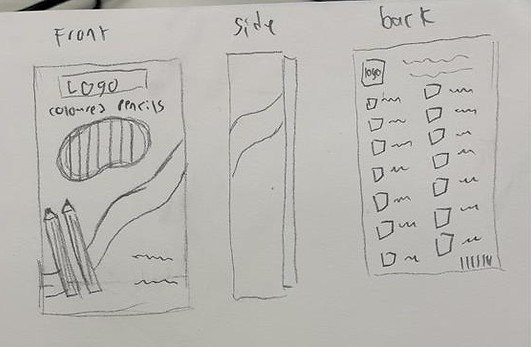
I also started thinking about what I might want my booklet to look like. My idea was to create a booklet with open pages where users could test out their colours. Whenever I’m working with pencil crayons, I always keep a spare sheet of paper with me to test colours, so I figured users might appreciate having something similar right there with their product.
Furthermore, the booklet could include information on essential colouring techniques, to encourage users to practice their skills.
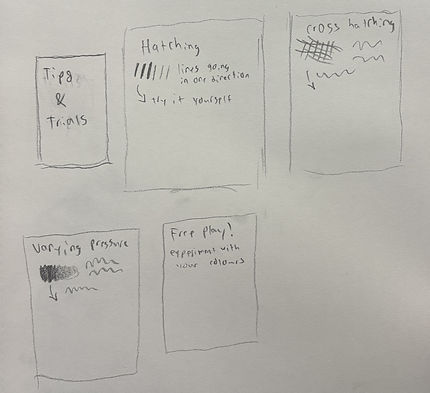

2. Prototyping. To construct my box, I would need to learn how to create dielines. I found a website called Pacdora.com that provided dielines for all kinds of boxes, and found ones that matched my box’s design.
Using these as reference, I created my own dielines in Adobe Illustrator:
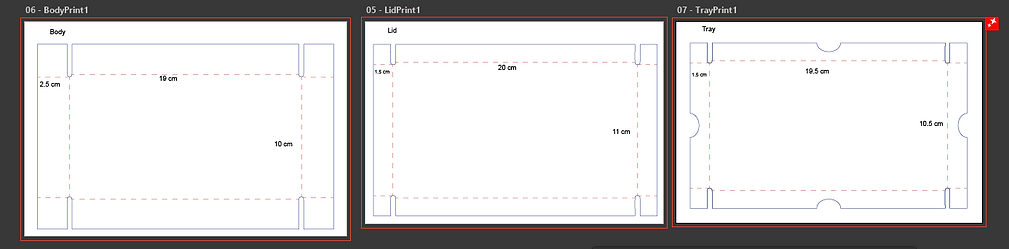
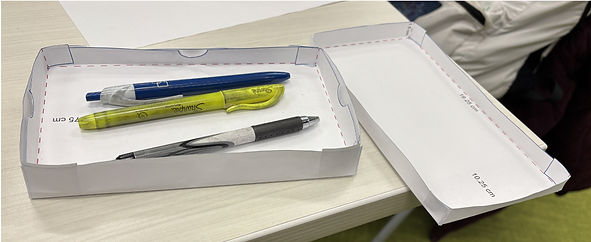
These were printed and assembled into prototypes. This took a couple iterations, as some of my initial measurements were off and needed to be corrected.
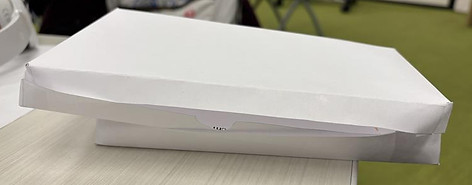

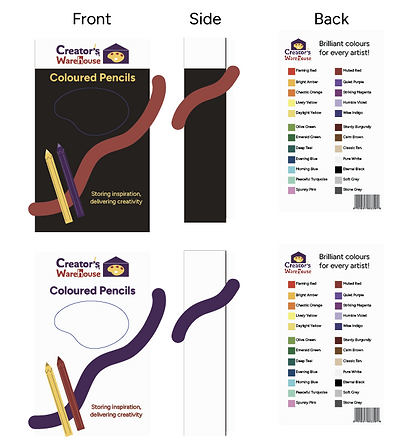
3. Digitization. With my box’s dimensions figured out, it was time to start creating the graphics. Using Adobe Illustrator, I created a couple digital iterations of artwork for the box:
I showed these designs to my peers for feedback, and the dark version was more popular. I got other useful pieces of feedback like thickening the lines on the pencils, and making the “storing inspiration, delivering creativity” text more noticeable.
Next up was digitizing my booklet in Adobe Indesign:
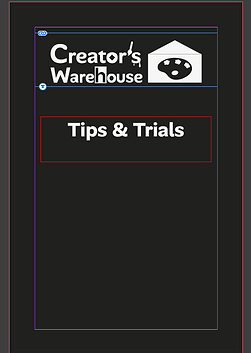
(Front cover)

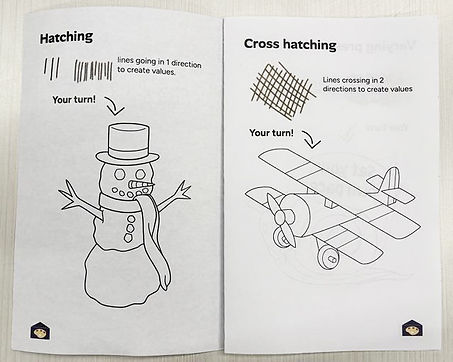
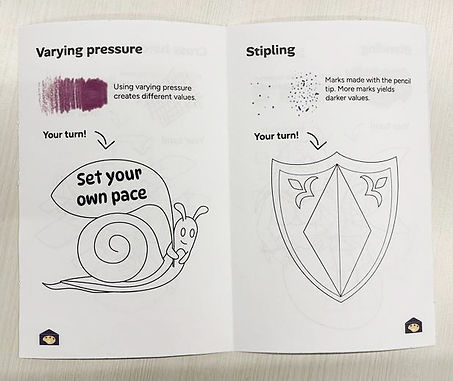
(Inside spread)
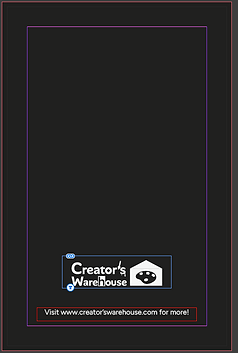
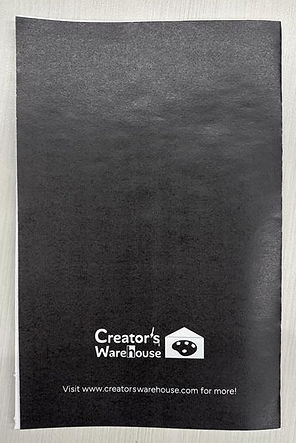
(Back cover)
I showed my booklet to my peers for feedback, and an idea suggested was to add some illustrations for users to colour in. It was also suggested to spread out the colouring techniques, so that each page featured one technique.
4. Refinement. I updated my box design using earlier feedback, and using my dielines printed and assembled another prototype:

(Front)
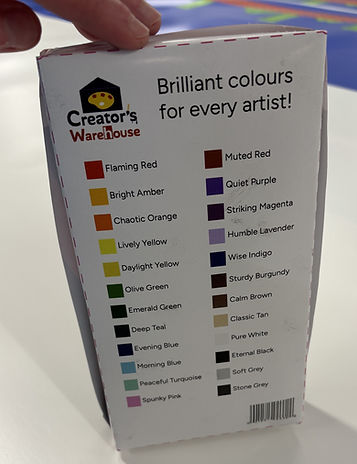
(Back)
I was satisfied with how the constructed box looked. I had printed this on glossy paper and didn’t realize the ink needed time to dry before the paper could be worked with, so I ended up smudging the ink in a few places. For future prints, I would know to give the ink 10-15 minutes to dry before working with the print.
Moving back to the booklet, I modified the spreads so each one featured a colouring technique and image to practice colouring and did a quick test print:

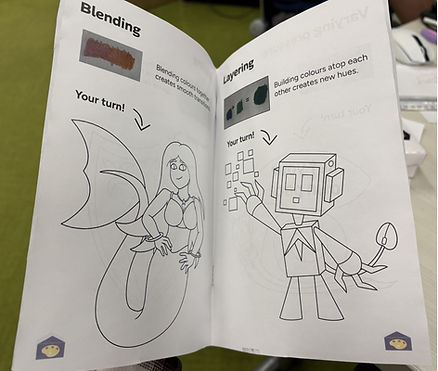
I showed both my box and booklet to my peers for further feedback, and got a lot of useful ideas such as making the booklet’s hierarchy clearer, adding something to fill the space at the bottom of the cover, and creating digital samples of colouring techniques instead of photographing physical ones.
For the box, there were a few adjustments I could make such as making the text bolder and the front window wider.
5. Finalization. I made the needed adjustments to my designs, printed, and assembled the final versions.
First, the box:


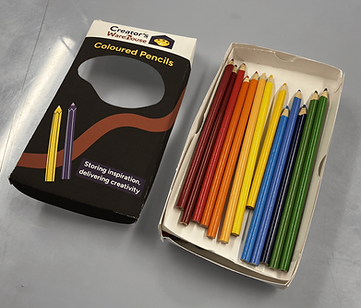
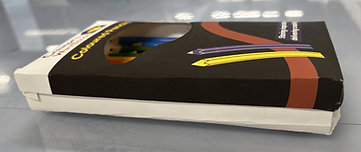
And then the booklet:


Lessons Learned
-
How to create dielines
-
How to design packages using dielines
-
How to assemble printed dielines
-
Practice in brand creation
-
Practice following brand guidelines
Conclusion
The results were a completed package and accompanying booklet that was liked by my peers. By successfully creating a design that appealed to those also interested in art, I was able to provide useful products that supported a brand’s mission and values.
By completing this project, I was able to learn a lot about working with dielines, and have some fun learning to create graphics for a foldable box.
Although this was for a fictional brand, the experience of making at and the skills I practiced will be useful in future projects like this one.